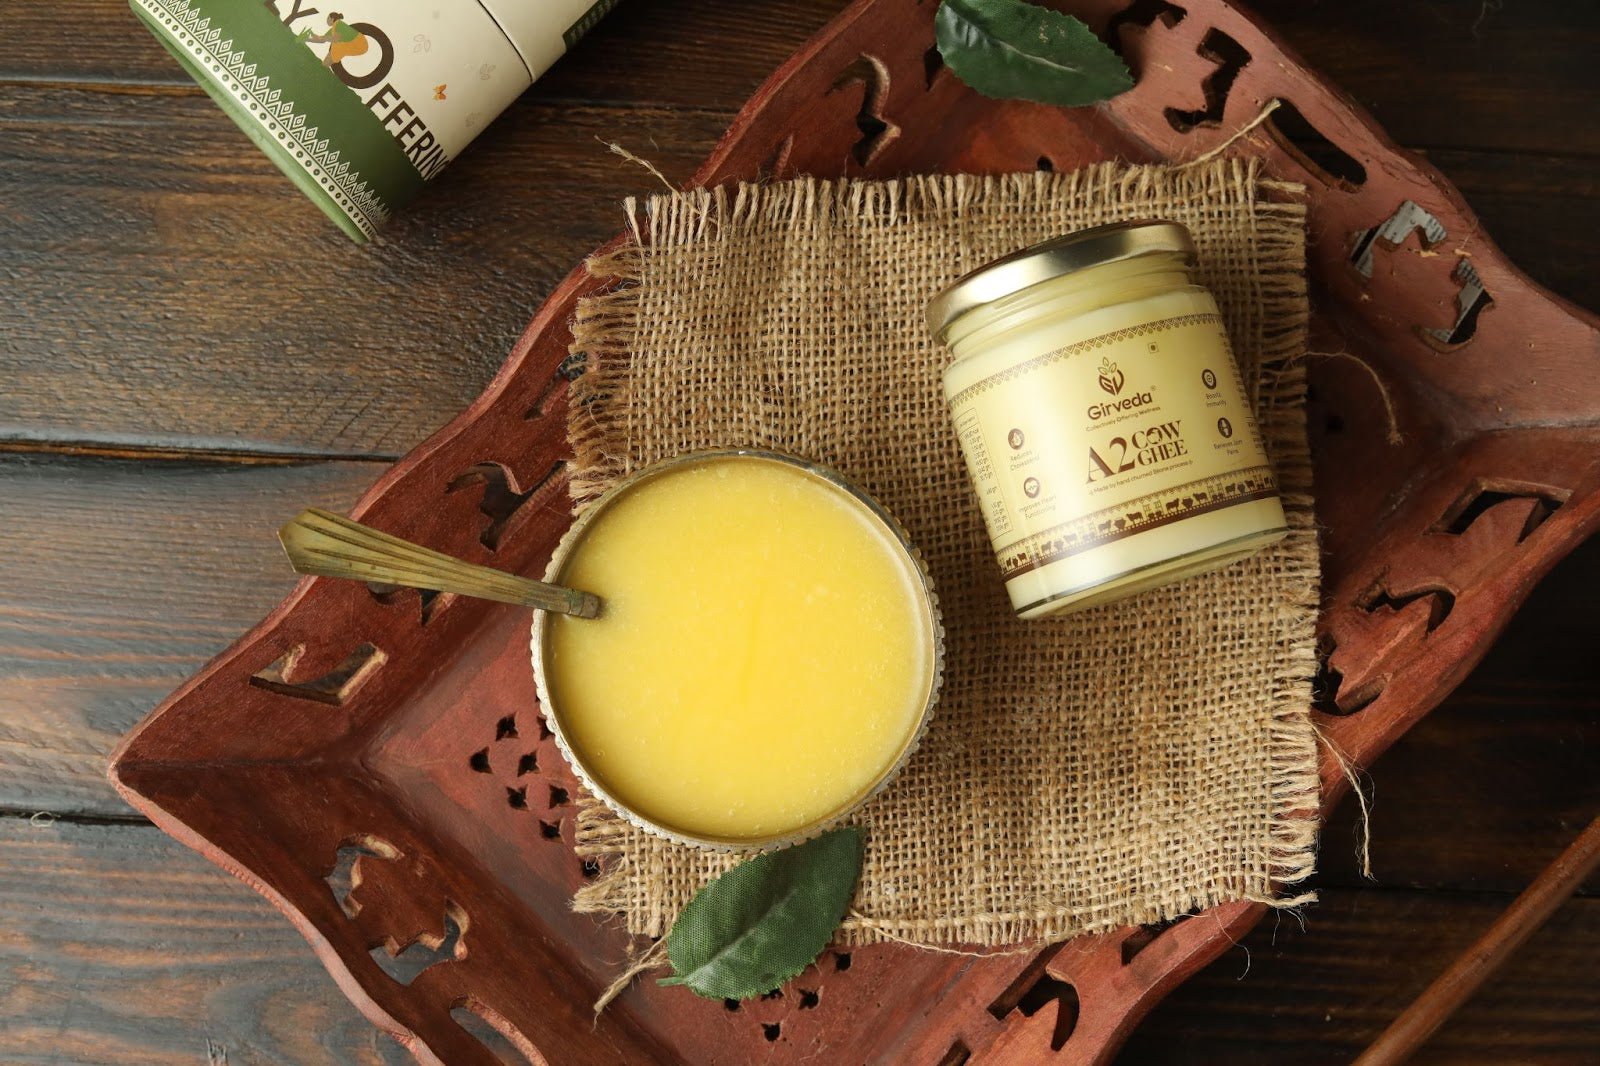
Your Step-By-Step Guide to Ghee Making
Ghee, also known as Ghrita in Ayurveda is common in most of the cuisines of the Indian subcontinent. Derived from a Sanskrit word, Ghrit means sprinkled, it is one of the most common staples used in kitchens as well as has immense mythological and spiritual significance.
Amidst the pandemic, the Indian ghee market was valued at INR 2,374 Billion in 2020. And according to the IMARC group, in the upcoming five years, this market is predicted to show immense growth. The high smoking point, longer shelf life, and approvals by dieticians and nutritionists that how it boosts immunity have led to ghee gaining immense popularity.
The Origin of Ghee
We all know the first person to step on the moon was Neil Armstrong. But, does this question cross your mind, who was the first person to make ghee? Well, according to Hindu mythology, ghee was first created by the god of offspring, Prajapati. He rubbed his palms from which ghee originated, and he further poured onto the fire, which created its offspring. Since then, ghee has been recognized as an important ingredient of diet as well as the desired component of religious rituals.
In Asian countries, ghee gained immense popularity since 1800 BCE due to the environmental conditions. The hot climate led to the difficulty in transporting butter, which made ghee the solution to all problems. The longer shelf life of ghee made it the preferred choice for people of Asian regions.
How to Make Ghee at Home
Gone are the days when people used to spend hours preparing dairy products at home. Though even today, there are many traditional households that still continue preparing ghee, butter, and other dairy products at their home. Here we have narrowed down a simple and easy recipe for ghee preparation using unsalted butter.
Step 1:
Take a heavy bottom pan, add some unsalted butter to it and heat it on a medium flame.
Step 2:
Make sure to keep a ladle in the pan to prevent it from overflowing.
Step 3:
Once the butter is melted, it will create a frothy layer on it. At this point, give it a good stir and reduce the flame.
Step 4:
Once the froth evaporates, you will observe that the butter starts heating. Now, wait until the colour of it changes from yellow to light golden.
Step 5:
After a while, the milk solids will start settling at the bottom of the pan and the bubbles will start reducing too. Once the solids turn to a light brown colour, you can remove the pan from the stove and keep it aside.
Step 6:
Wait till the temperature cools down. Post that, using a dry strainer you can separate the solids and pour the freshly prepared ghee into a jar.
Step 7:
Once the ghee cools down, you can store it in an airtight container and relish the goodness of homemade ghee.
A Detailed Guide to the Bilona Ghee Process
For centuries, ghee has been widely consumed and made in India. Especially, the bilona method of making ghee is one of the oldest, traditional and renowned processes to obtain pure and high-nutritional valued ghee. The ghee obtained from the Bilona process is slow-cooked with perfection to retain the aroma and its nutrients.
Our Vedic scriptures have defined 5 sanskars to obtain the purest and healthiest form of ghee. Here’s the step-by-step process of the bilona method of making ghee.
Sanskar 1:
To begin with, pure ghee from cows or buffaloes is used to prepare ghee. We recommend using pure desi cow or buffalo milk as the quality of ghee will largely depend on the quality of milk. This fresh and raw milk may have certain impurities in it, so it is boiled and cooled down.
Sanskar 2:
Once the milk is warm enough to prepare curd from it, the whole of it along with malai is transferred to earthen pots. Then a spoonful of curd, locally known as jamavan is added to it. Once it is set, the pot is left to settle down before churning.
Sanskar 3:
This sanskar is known as the actual Bilona stage. The curd that has been formed in the earthen pots is churned using a wooden churner called Bilona. This is a quite lengthy process where it is churned clockwise and anti-clockwise, till the butter is separated from the buttermilk. If you face difficulty in this step, adding cold water is recommended.
Sanskar 4:
In this step, the butter obtained from churning is separated out. Not only that, the buttermilk you get is extremely tasty and can be used in your daily meals. A win-win for all.
Sanskar 5:
The final stage of the Bilona process. Here the butter is slow-cooked in a pot to prepare ghee. During the earlier times, ghee was prepared on wood on an extremely low flame. This is how ghee is prepared using the traditional Bilona method.
People have always been struggling to make a choice if either they should purchase ghee online or prepare it at home. Preparing ghee at home might sound easy, but at the same time, it takes a lot of effort and patience. On the other hand, you can easily purchase a bottle of ghee from the nearest store, but the fear of it being adulterated prevails along.
So, that’s when we can help in making the right choice. At Girveda, we believe every individual has the right to know what they eat. So, we have a QR code on every bottle of ghee, which upon scanning shows the batch number and the details of the farmer who grew it, the farmland it grew on, and the lab report for the specific batch. That’s how you can be free from the hassle of making ghee at home and get your pack of the goodness of Bilona ghee straight from the lands of Gir to your home.
